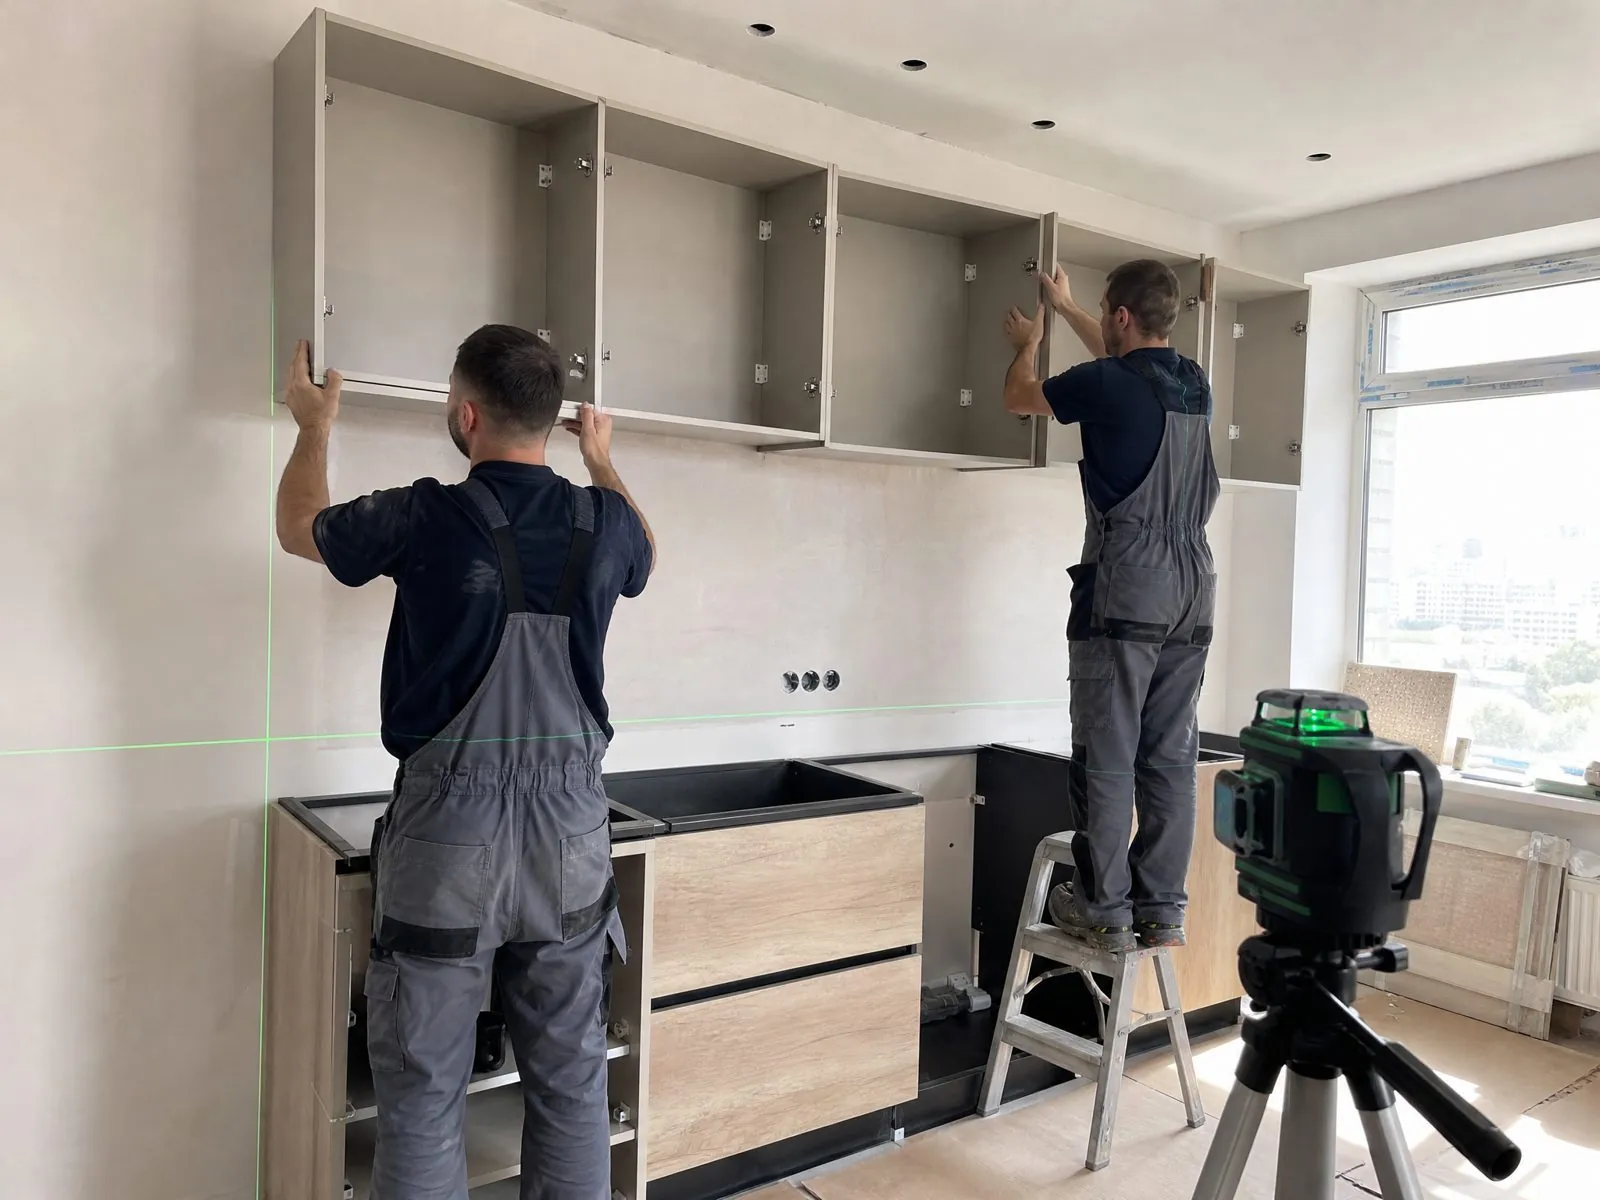
A step-by-step guide to built-in wardrobe installation: site readiness, measuring, leveling, wall fixing, scribing, sliding doors, lighting and handover checks.
What does a professional built-in wardrobe installation involve?
A professional built-in wardrobe installation is a planned sequence: survey and site check, unpacking and sorting by position, carcass assembly and leveling, wall fixing, joining and scribing, then doors, interior fittings, lighting and final adjustment. Skipping or rushing any step usually shows up later as uneven door gaps, sticking sliding doors or units that move when doors are opened.
For project buyers, installation quality matters as much as factory quality. A well-made wardrobe that is installed out of level will look and work like a poor product. That is why shop drawings, labelled parts and clear installation guidance are part of the product, not optional extras.
The typical installation stages are:
- Confirm the site is ready: walls finished, floors laid, electrical points in place.
- Check delivered cartons against the packing list and sort parts by room and position.
- Assemble carcasses, or position pre-assembled carcasses.
- Level the base and fix carcasses to the wall.
- Join adjacent units and fit fillers, scribes and top panels.
- Hang hinged doors or install sliding door tracks and panels.
- Fit interior fittings, drawers, rails and accessories.
- Connect lighting through a licensed electrician.
- Adjust doors and drawers, clean, protect and hand over.
Installation time depends on wardrobe size, door type and site conditions. A simple hinged-door wardrobe in a ready room is quick; a full walk-in system with lighting, glass doors and heavy scribing takes much longer. For project scheduling, time a mock-up installation and use it to plan crews per floor.
Who installs matters too. Experienced local joinery installers adapt quickly to new hardware, but they still need the drawings, labels and fixing details from the manufacturer. Agree before shipment who installs, who supplies fixings for the wall type and who connects lighting.
When is the site ready for wardrobe installation?
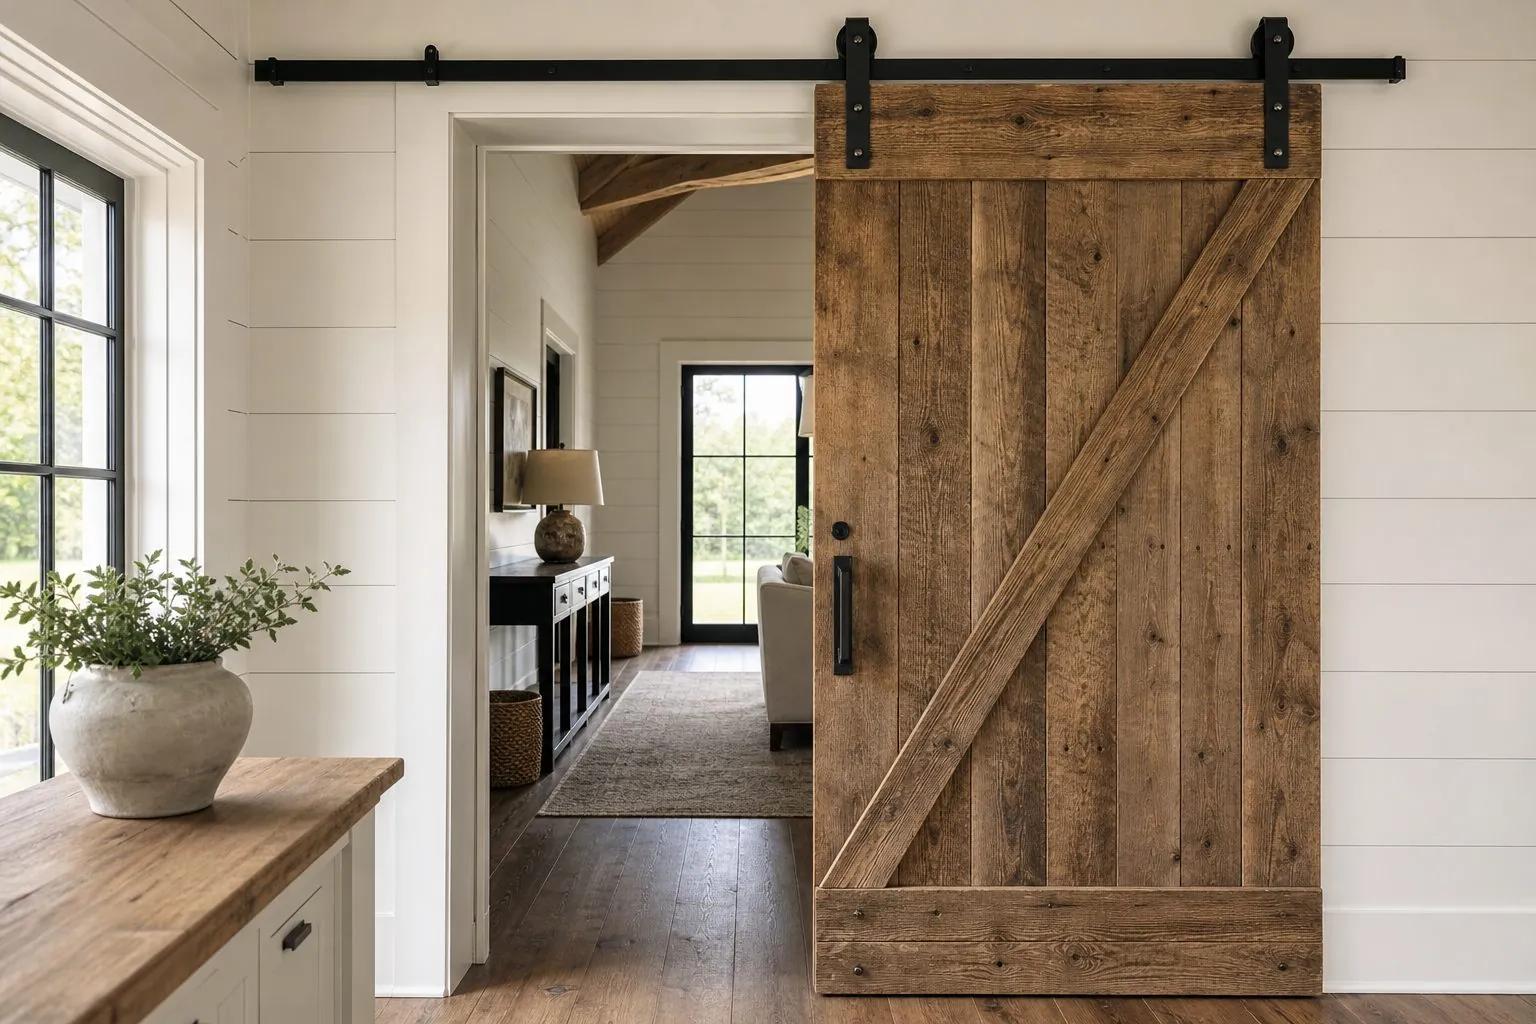
The site is ready when wet trades are finished, floors are laid, walls are painted or at least primed, and the room is dry and closed. Installing wardrobes into a damp, dusty or unfinished room risks swelling, staining and damage that is hard to fix later.
- Plastering and painting complete, with walls dry.
- Final flooring installed, or the agreed floor level marked if flooring follows later.
- Ceilings finished, so top fillers can be scribed to the final ceiling line.
- Electrical supply points for lighting in position and tested.
- Windows installed and the room weather-tight.
- Clear access for carrying long panels and tall doors to the room.
Some projects install wardrobes before final flooring to save time. If so, confirm the finished floor level in advance and leave a plinth detail that allows flooring to run neatly up to it. Decide this before drawings are finalized, because it changes plinth and door heights.
Why does site measurement matter so much?
Site measurement decides whether the wardrobe fits without gaps or forced cuts. Built-in wardrobes run wall to wall and floor to ceiling, so small errors in dimensions or out-of-square walls become visible gaps along the edges.
| What to measure | Why it matters | Tip |
|---|---|---|
| Wall width at top, middle and bottom | Walls are rarely parallel | Use the smallest width for carcass sizing |
| Ceiling height at several points | Ceilings slope or dip | Plan a top filler that can be scribed |
| Wall plumb and corner squareness | Out-of-plumb walls create tapered gaps | Allow side scribes on both ends |
| Floor level across the run | Uneven floors twist carcasses | Note the highest point for leveling |
| Positions of sockets, switches, vents | They may be covered or need cut-outs | Mark on the elevation drawing |
| Skirting, cornices and window frames | They clash with carcasses | Decide to remove or notch around them |
For new-build projects with many identical rooms, measure several sample rooms rather than assuming every room matches the architect's plan. Tolerances on site can vary from room to room, and standard filler allowances should cover that variation.
How are carcasses leveled and fixed to the wall?
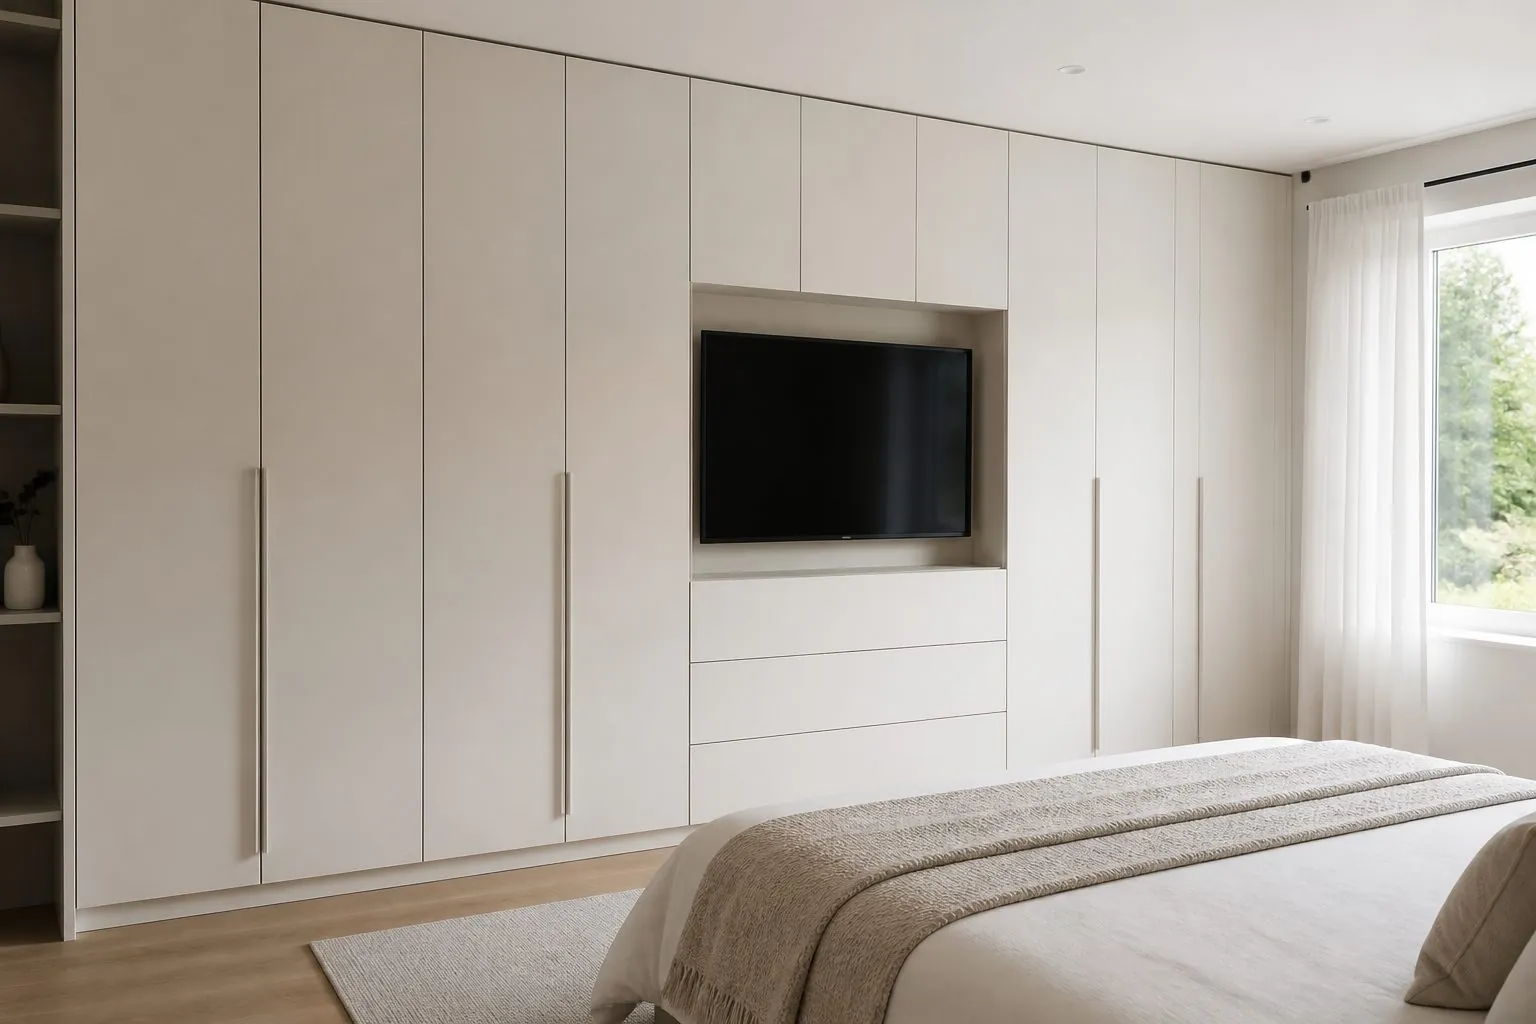
Carcasses are leveled first and fixed second. A level, square base is the foundation for even door gaps; wall fixing then holds the units in that position and prevents tipping.
Leveling
- Find the highest point of the floor along the run and level everything to it.
- Use adjustable legs, a leveled plinth frame or shims under the carcass.
- Check level both front to back and side to side.
- Check each carcass is square by measuring diagonals before fixing.
Wall fixing
Fix carcasses to solid masonry, concrete or stud walls with suitable fixings. Lightweight partition walls need blocking inside the wall, installed before plastering. The fixing points should be shown on the shop drawings, typically through a hanging rail or the top of the carcass back.
Do not pull a carcass tight against an uneven wall, because that twists it out of square. Pack behind the fixing point instead so the carcass stays straight.
How are fillers and scribes used for a built-in finish?
Fillers and scribes close the gaps between the wardrobe and the walls and ceiling. They are what makes a modular wardrobe look truly built in.
- Side fillers are cut to the wall profile on site, following any bow or out-of-plumb line.
- Top fillers or cornices are scribed to the ceiling line, hiding ceiling dips.
- Plinths or kick boards hide leveling legs and uneven floors.
- End panels cover exposed carcass sides where the wardrobe does not meet a wall.
Scribing means marking the wall profile onto the filler and cutting along it so the filler sits tight against the surface. It takes skill and time, so allow for it in the installation schedule. Fillers should be supplied slightly oversize so installers have material to cut.
On hinged-door wardrobes, a filler next to a wall also gives the door room to open without hitting the wall or a light switch. The minimum filler width depends on handle type and hinge angle and should be shown on drawings.
What is different when installing sliding door wardrobes?
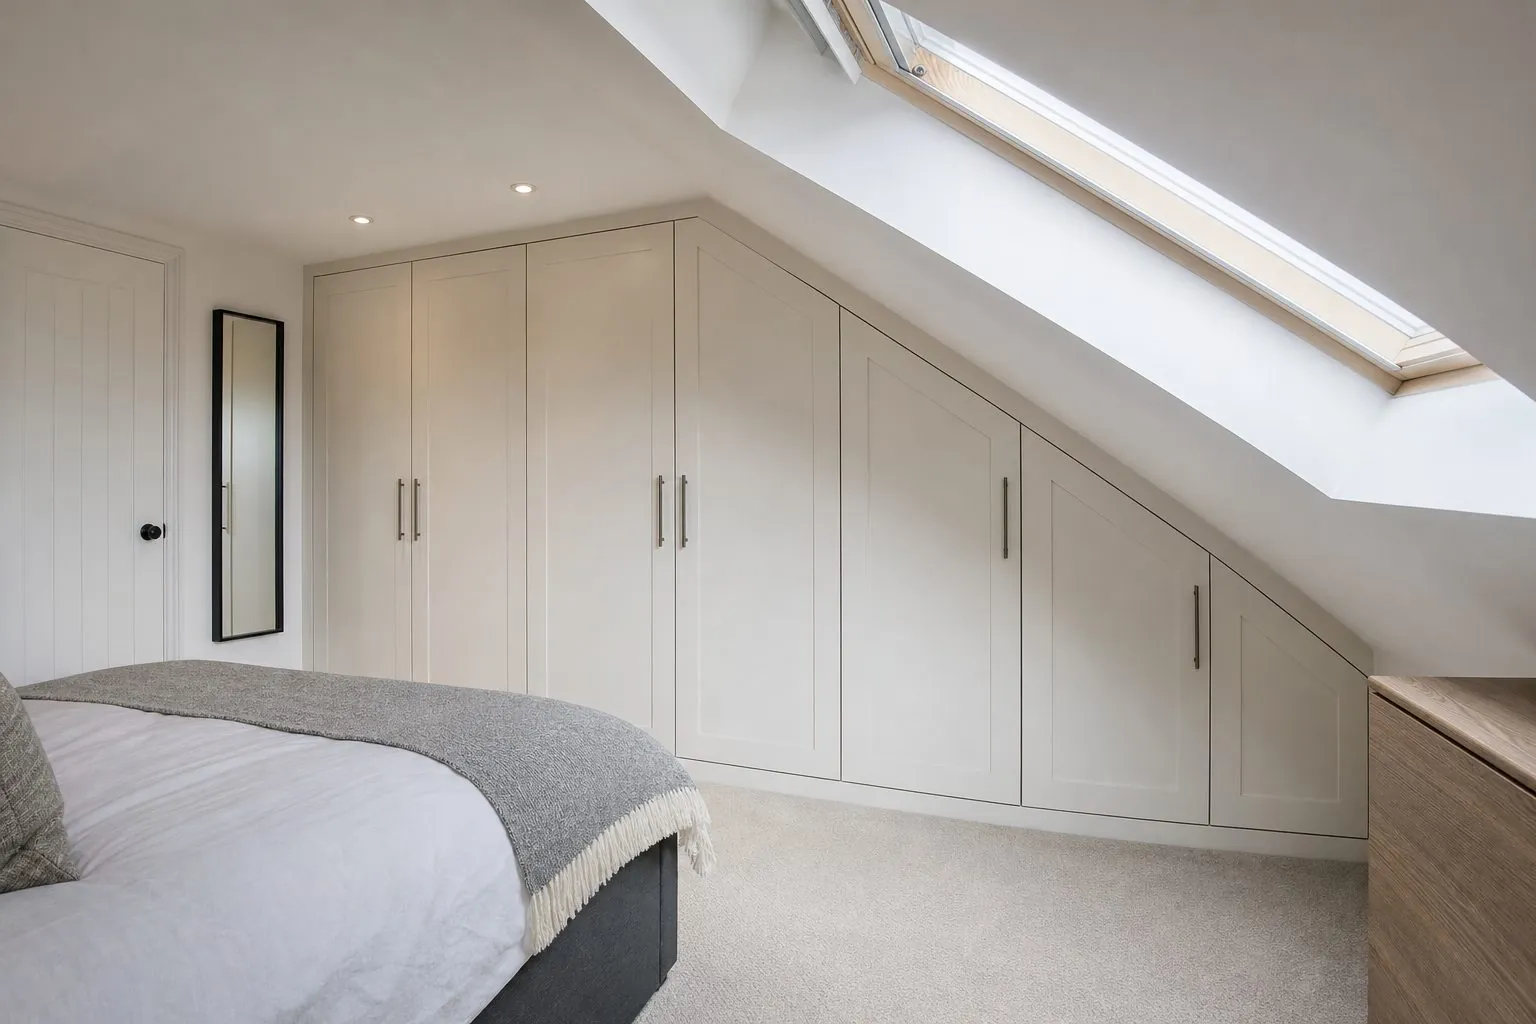
Sliding door wardrobes need very accurate leveling and parallel tracks. If the top and bottom tracks are not aligned, doors run poorly, jump off the track or leave tapered gaps against the side walls.
| Step | What to check | Common problem if skipped |
|---|---|---|
| Fix top track | Level and straight along full length | Doors drift open or closed |
| Fix bottom track | Directly below top track, parallel | Doors rub or jump the track |
| Hang doors | Correct running order front and back | Doors clash when passing |
| Adjust wheels | Even gap to side walls, doors vertical | Visible tapered gaps |
| Fit stoppers and soft-close | Doors stop in correct position | Doors bounce back or slam |
Mirror and glass sliding doors are heavy and fragile. Use at least two installers, keep them in their crates until needed and check that the track system is rated for the door weight. Door weight limits are confirmed for the system chosen.
How are doors, drawers and interior fittings adjusted?
Doors and drawers are adjusted last, after all carcasses are fixed and loaded. Adjusting too early wastes time, because carcasses can shift slightly as fillers and tops are fitted.
- Hang hinged doors and check gaps between doors and to the carcass edges.
- Adjust hinges side-to-side for even vertical gaps, then height, then depth.
- Check that soft-close works on every door and drawer.
- Fit drawer fronts and align them with door edges.
- Install rails, shelves, shoe racks and accessories according to the interior drawing.
- Re-check tall doors for twist; add door straighteners if specified.
Tall one-piece doors are the most sensitive. Even small differences in carcass squareness show up as a twisted door. If a tall door does not sit flat, check the carcass first before adjusting hinges.
How is wardrobe lighting connected on site?
Lighting is pre-routed in the factory and connected on site. The joinery installer fits profiles, sensors and drivers; a licensed electrician makes the connection to the mains supply.
- Check the wiring diagram supplied with the wardrobe.
- Join low-voltage plug connectors between modules before fitting top panels.
- Place drivers in the accessible compartment shown on drawings.
- Test every light and sensor before closing access panels.
- Record driver and sensor references for maintenance.
If lighting is not working at handover, check connectors between modules first. Loose plug connections are a far more common cause than failed LEDs.
What should be checked at handover?
A structured handover inspection catches problems while the installation team is still on site. It also gives building owners and hotel operators a record of the condition at completion.
| Check item | Acceptable result |
|---|---|
| Carcass level and fixing | No movement when doors open; units level |
| Door gaps | Even and consistent across the run |
| Sliding doors | Run smoothly, stop softly, no tapered gaps |
| Drawers | Open fully, close softly, fronts aligned |
| Fillers and scribes | Tight to walls and ceiling, no visible gaps |
| Lighting | All lights and sensors work |
| Surfaces | No scratches, chips or adhesive residue |
Photograph each room after cleaning. For large projects, a snag list per room lets the team close issues systematically.
Protect finished wardrobes after handover if other trades are still working. Cover doors with protective film or sheets, keep doors closed during dusty work and remove protection only at final cleaning. Damage caused by later trades is a common source of disputes, so photograph the condition at handover and record who accepted it.
How can Arcova help with wardrobe installation?
Arcova supplies built-in wardrobes and walk-in wardrobe systems with installation built into the process. Shop drawings show fixing points, filler allowances and hardware, and parts are machined on automated CNC, edge banding and drilling lines for consistent fit.
- Drawing deepening and shop drawings with installation details.
- Mock-ups for project approval before mass production.
- Inspection with photo reports before shipping.
- Export packing labelled by unit or room.
- Installation guidance and 24-hour online technical support.
Arcova has 12+ years of manufacturing experience and holds ISO9001, BSCI and FSC certifications. Lead times and project terms are confirmed per order. Send your floor plans to plan your wardrobe project, or read about our quality control.